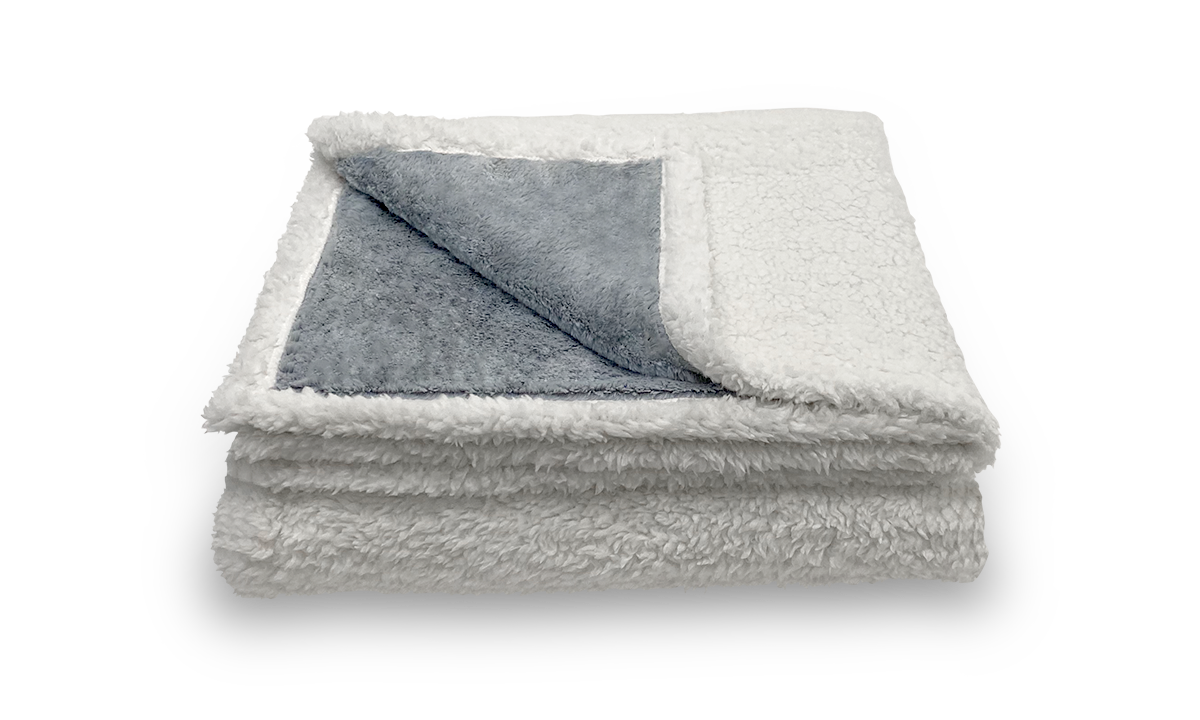
A flannel receiving blanket is an indispensable item for any new parent. Not only does it provide warmth and comfort to a newborn, but it also serves various practical uses from swaddling to providing a soft place for tummy time.
This guide will walk you through how to make a flannel receiving blanket, offering tips for both a single-layer and a double-sided version.
How to Make a Flannel Receiving Blanket
Creating a flannel receiving blanket is a wonderful way to provide a personalized touch to a nursery or a thoughtful gift for a new parent. Here’s a detailed guide on how to craft one, with a focus on both usability and aesthetics.
Materials Needed
- Flannel Fabric: 1 to 1.5 yards of soft, baby-friendly flannel fabric.
- Scissors or Rotary Cutter: For precise cutting.
- Measuring Tape: To accurately measure the fabric.
- Pins: To secure the fabric before sewing.
- Thread: Preferably cotton, matching or contrasting with your fabric.
- Sewing Machine: For a quick and sturdy hem.
Instructions
-
Fabric Selection:
- Choose a high-quality, soft flannel that’s gentle enough for a baby’s sensitive skin. Opt for a washable fabric to ensure easy care.
-
Preparation:
- Pre-wash your flannel fabric to avoid shrinkage after the blanket is made. Use a gentle detergent and dry it on a low heat setting.
- Iron the fabric once dry to remove any creases or folds.
-
Measuring and Cutting:
- Spread the fabric out on a flat surface.
- Use a measuring tape to measure a 36x36 inch square, which is a standard size for receiving blankets. If you prefer a larger blanket, adjust your measurements accordingly.
- Mark your measurements using a fabric chalk or marker.
- Cut the fabric with scissors or a rotary cutter for clean, straight edges.
-
Hemming:
- Fold each edge of the cut fabric over by about half an inch. This creates the hem which will prevent the fabric from fraying.
- Use pins to hold the folds in place.
- Iron the folds to make sewing easier and more precise.
- Stitch the hem using a straight stitch on your sewing machine. You can use a decorative stitch or a contrasting thread color for a more decorative edge.
-
Finishing Touches:
- Inspect the stitched edges to ensure they are even and secure.
- Trim any loose threads and ensure the corners are well-shaped and flat.
As new parents, ensuring you also get restful sleep is crucial. A Puffy Lux Mattress can provide the comfort and support you need during this beautiful, albeit exhausting, phase of life.
How to Make a Single Layer Flannel Receiving Blanket
Making a single-layer flannel receiving blanket is an even simpler process, ideal for those who are new to sewing or looking for a quick project.
Materials
- All materials listed in the flannel receiving blanket section above.
Instructions
-
Prepare Your Material:
- Follow the same steps for fabric selection, washing, and ironing as outlined above.
-
Cut the Fabric:
- For a single-layer blanket, cutting accuracy is key to ensuring that the finished edges look clean and professional.
- Measure and cut a 36x36 inch square from your flannel.
-
Hemming the Edges:
- Instead of a simple fold, consider using a serger to overlock the edges, which seals the fibers and prevents fraying. If you don’t have a serger, a zigzag stitch along the edge of the fabric works well too.
- Fold each edge over by approximately half an inch. Press the fold with an iron and pin in place.
- Sew around the perimeter using a zigzag stitch. This stitch allows the fabric to stretch without the threads snapping, which is particularly useful for flannel as it tends to have slight elasticity.
-
Decorative Options:
- To add a personal touch, consider embroidering the baby’s initials or a small motif in one corner of the blanket before hemming.
- You can also add a decorative lace or ribbon trim along the hem for a more styled look.
One million Americans are sleeping better with Puffy. Compare our award-winning mattress collection against other brands to learn why: Puffy vs Purple, Puffy vs Nectar, Puffy vs Casper, Puffy vs Leesa, Puffy vs Saatva, Puffy vs Dreamcloud, and Puffy vs Tuft & Needle.
Additional Tips and Tricks
- Adding a Personal Touch: Embroider the baby’s name or birthdate on the corner of the blanket for a personalized gift.
- Using Different Stitches: Experiment with different stitches on your sewing machine to add a decorative touch to the edges of the blanket.
Crafting flannel receiving blankets for my newborn brought immense joy and a bit of calm during the bustling preparations for parenthood. Each stitch not only prepared a cozy welcome for my baby but also provided peaceful moments for me.
These handmade blankets, filled with love and care, became cherished keepsakes, much like the comforting embrace of our Puffy Lux Mattress after a long day.
Conclusion
Making your own flannel receiving blankets is not only cost-effective but also allows you to customize each blanket with colors and patterns of your choice.
These blankets make excellent gifts and become cherished keepsakes as the child grows. With just a few simple materials and some basic sewing skills, you can create a beautiful, functional blanket that will keep your little one cozy and stylish.

- Oeko-Tex® Standard 100 certified.
- Hypoallergenic.
- Lifetime warranty.
- 101-night sleep trial.
- Free shipping and returns.


