Key Takeaways
- Material Selection: Tips on choosing the right fabrics and tools for your rag blanket.
- Sewing Techniques: Insights into various stitching methods, including no-sew options.
- Design Ideas: Creative ideas for personalizing your rag blanket.
- Care Instructions: How to maintain and clean your rag blanket properly.
- Project Variations: Different ways to adapt the basic rag blanket design for various uses.
Creating a rag blanket is a fun and rewarding DIY project that allows you to repurpose fabric scraps into something both beautiful and functional.
Whether you’re looking to make a cozy throw for your living room or a heartfelt gift for a friend, this guide will walk you through every step of the process.
How to Make a Rag Quilt Blanket
Choosing Fabrics and Materials
- Fabric Selection: Opt for cotton, denim, or flannel for their fraying properties and ease of use.
- Tools Needed: Gather fabric scissors, a ruler, a cutting mat, and matching thread.
Selecting the right materials and tools is the foundation of creating a durable and attractive rag quilt, ensuring the final product is both functional and pleasing to the eye.
Preparing Your Fabric
- Cutting: Cut your fabric into strips or squares based on your chosen design.
- Pre-Washing: Wash and dry fabric pieces to prevent shrinking post-assembly.
Properly preparing your fabric by cutting and pre-washing ensures the quilt will maintain its shape and size, which is essential for achieving professional-looking results.
Assembling the Blanket
- Layout Design: Arrange your fabric pieces on a flat surface to finalize your blanket’s design.
- Sewing: Stitch the pieces together with a consistent ½ inch seam allowance to promote even fraying.
The assembly process, from layout to sewing, is critical in creating a cohesive and sturdy rag quilt that showcases your design effectively.
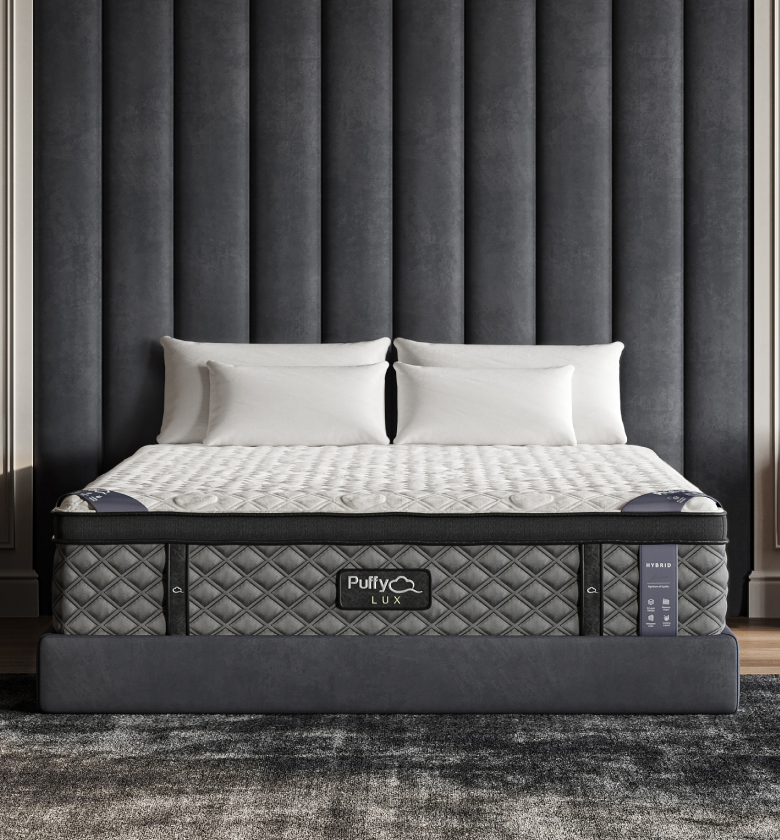
Combine the comfort of your handmade rag blanket with the plush softness of a Puffy Lux Mattress for ultimate relaxation.
How to Make a Rag Blanket Without Sewing
Using Adhesive Methods
- Glue Application: Use fabric glue or fusible bonding tape to join fabric pieces without sewing.
- Bonding: Ensure each piece is securely bonded following the adhesive’s instructions.
No-sew adhesive methods offer a quick and easy way to create rag blankets, ideal for those who prefer not to sew or are looking for a less time-consuming project.
Tying Fabric Pieces
- Cutting Slits: Make small cuts along the edges of fabric pieces.
- Knotting: Tie the pieces together with knots for a secure and decorative edge.
Tying fabric pieces together is a fun, interactive method that adds a distinctively textured edge to the blanket, making it a great craft for all ages.
How to Make a Rag Quilt Baby Blanket
Selecting Baby-Friendly Materials
- Fabric Choice: Choose soft, hypoallergenic fabrics that are safe for babies.
- Decoration Safety: Avoid using small, detachable items to prevent choking hazards.
Using safe, soft materials and avoiding hazardous decorations are paramount in crafting a baby-friendly rag quilt that ensures the infant’s safety and comfort.
Incorporating Comfort and Safety
- Material Preparation: Use pre-washed materials and natural colorants for safety.
- Design Simplicity: Opt for simple, secure designs that are safe and functional for babies.
Comfort and safety are the top priorities when creating a rag quilt for babies, with careful material preparation and simple designs that cater to the needs of young children.
Imagine draping your colorful, handcrafted rag blanket over the inviting softness of a Puffy Cloud Mattress.
Conclusion
Making a rag blanket can be a delightful project that not only recycles leftover fabric but also gives you a chance to create a personal and practical item for your home or as a gift.
With the guidelines provided in this article, you can choose from sewn or no-sew methods to make a unique rag blanket that matches your style and meets your needs.

- 8 layers of cloudlike luxury.
- Medium-plush feel.
- Gel-infused cooling.
- 101-night sleep trial.


