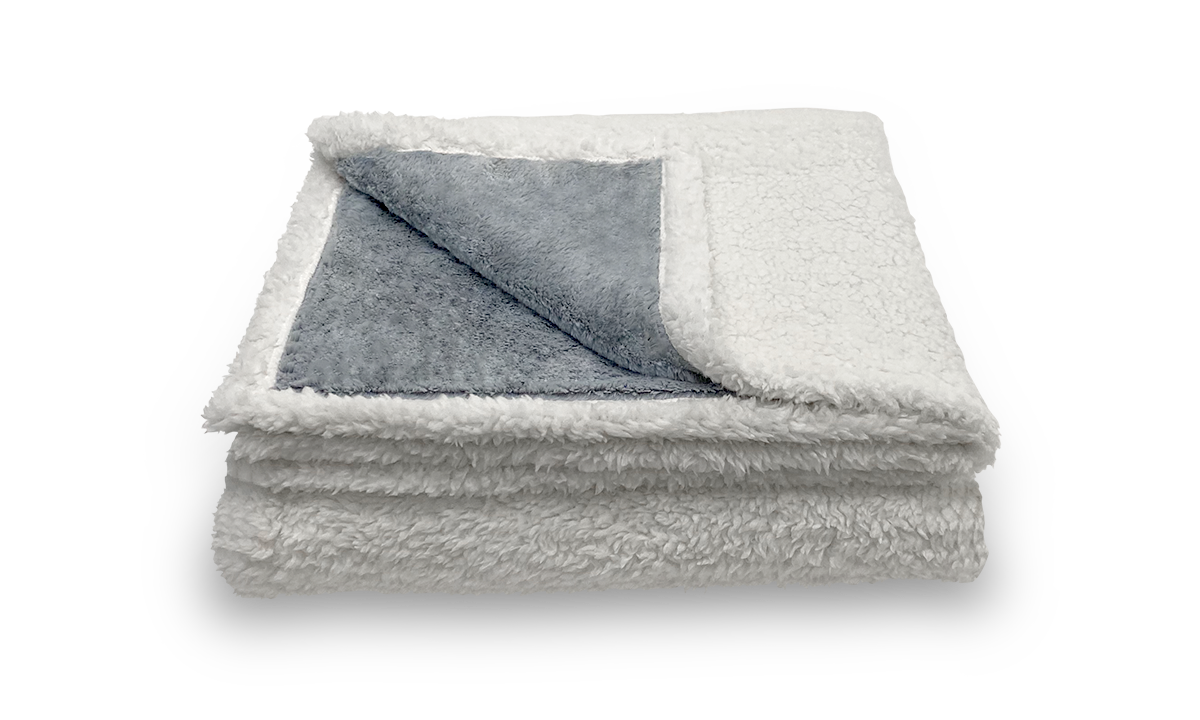
Creating a baby blanket with satin binding not only adds a luxurious touch but also provides a silky edge that babies often find comforting. This guide will walk you through the process of making a soft, durable baby blanket with elegant satin binding, perfect for gifting or personal use.
Materials Needed
- Fabric for the Blanket: Choose a soft fabric like cotton, flannel, or Minky. You’ll need a piece about 30x40 inches for a standard baby blanket.
- Satin Binding: Purchase 2-inch wide satin ribbon or pre-made satin binding. You’ll need about 4-5 yards depending on the size of your blanket.
- Sewing Machine: A basic machine capable of a straight stitch is sufficient.
- Matching or Contrasting Thread: Pick thread that either blends in with the fabric or offers a striking contrast.
- Scissors, Pins, and Measuring Tape.
- Iron: Essential for pressing the binding and fabric to create crisp, clean edges.
How to Sew a Baby Blanket with Satin Binding
Sewing a baby blanket with satin binding not only gives the blanket a sleek, finished look but also adds a gentle, silky edge that babies love to touch. This detailed guide will take you through the process of adding satin binding to a baby blanket, ensuring a high-quality result that’s both attractive and functional.
Step 1: Prepare the Blanket Fabric
- Cut and Trim the Fabric: Measure and cut your chosen fabric to your desired dimensions (typically 30x40 inches for a baby blanket). Use a serger or a zigzag stitch on your sewing machine to finish the edges and prevent fraying.
Step 2: Prepare the Satin Binding
- Measure and Cut the Satin: Measure the perimeter of your blanket and cut enough satin ribbon to cover the edges, adding an extra 10% for mitering corners and slight overlaps.
- Press the Satin: Fold your satin ribbon in half lengthwise and iron it flat. This will create a neat, sharp edge that makes sewing easier and more precise.
Step 3: Pin the Binding to the Blanket
- Align the Binding: Open the folded satin and align the middle crease along the edge of your blanket. The fabric should slip slightly into the fold of the satin binding.
- Pin in Place: Secure the satin binding to the blanket with pins, making sure that the fabric edge is snugly inserted into the fold of the satin all the way around. Be particularly careful at the corners, where fabric tends to bunch.
Step 4: Miter the Corners
- Fold the Corners: To create a mitered corner, fold the satin at a 45-degree angle at each corner of the blanket and pin it. This technique reduces bulk and ensures that the corners are neat and tidy.
- Sew in Place: Sew the folded corners before continuing with the straight edges to ensure they hold their shape.
Step 5: Sew the Binding
- Stitching the Binding: Start sewing from one corner, using a straight stitch close to the open edge of the satin binding. Remove the pins as you sew. Ensure your stitches catch both the top and bottom of the satin binding for a secure finish.
- Reinforce Corners: When you reach a corner, keep the needle down, lift the foot, and turn the blanket to maintain a continuous line of stitching.
Step 6: Finishing Touches
- Final Press: Once you’ve sewn all around the blanket, give it a final press with the iron to set the stitches and smooth out any puckering.
- Inspect Your Work: Check all the seams and edges to ensure there are no loose threads or missed areas, particularly along the corners.
Interested in how Puffy stacks up against other brands? Check out our mattress comparisons: Puffy vs Purple, Puffy vs Nectar, Puffy vs Casper, Puffy vs Leesa, Puffy vs Saatva, Puffy vs DreamCloud, and Puffy vs Tuft and Needle.
Additional Tips
- Choosing the Right Satin: Opt for a high-quality satin ribbon that is soft yet durable. Cheaper satins can fray or lose their sheen after washing.
- Sewing Machine Settings: Adjust your sewing machine to handle the thickness of the satin and fabric. A longer stitch length can be beneficial for thicker materials.
- Practice on Scraps: If you’re new to working with satin, practice on some scrap fabric to get a feel for how it feeds through your sewing machine.
Making my first satin-bound baby blanket was an enriching project. Not only did it provide a unique, handcrafted gift for a friend’s baby shower, but it also added a touch of luxury to the nursery decor. The soft satin binding seemed to be particularly soothing for the baby, much like the comforting layers of a Puffy Lux Mattress are for adults seeking a restful night’s sleep.
Conclusion
A baby blanket with satin binding is more than just a nursery necessity; it’s a token of comfort and luxury that your baby can cherish. With the right tools and a bit of patience, you can create a beautiful, functional piece that is sure to be treasured.

- Oeko-Tex® Standard 100 certified.
- Hypoallergenic.
- Lifetime warranty.
- 101-night sleep trial.
- Free shipping and returns.


