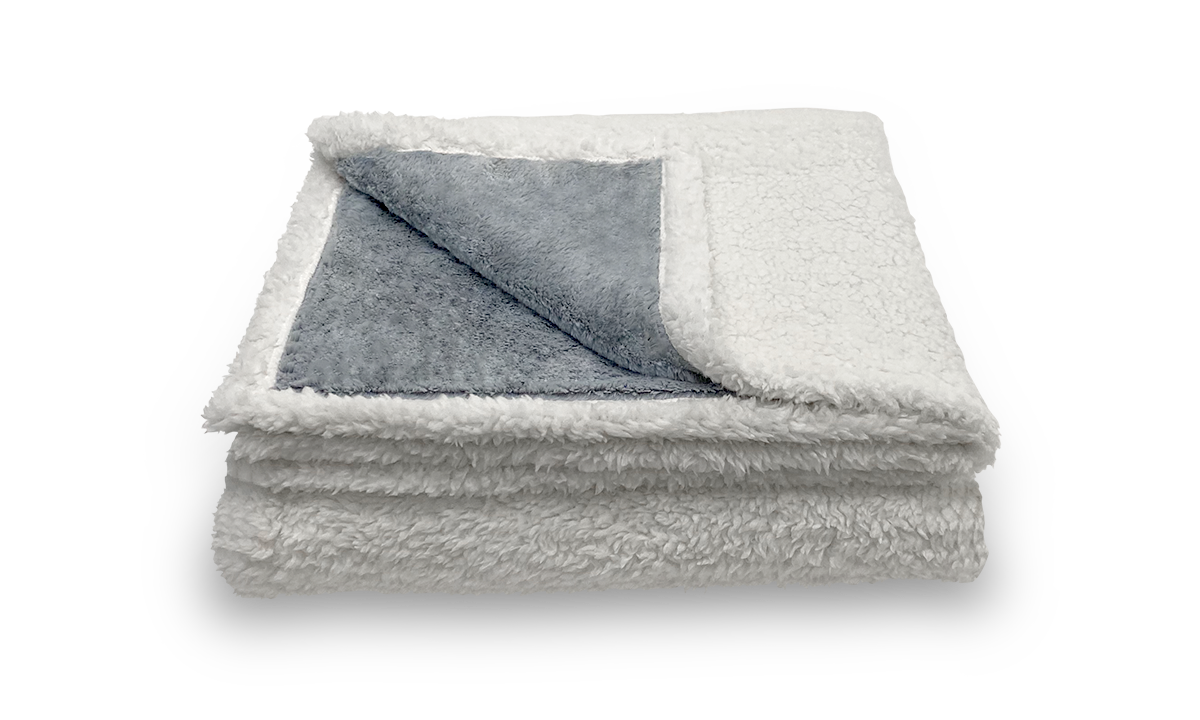
Knitting a throw blanket is a rewarding project that not only brings warmth but also adds a touch of handmade charm to any living space. Whether you’re a novice looking for a simple weekend project or an experienced knitter ready to tackle a more complex pattern, this guide will walk you through the essentials of knitting your own throw blanket.
How Much Yarn to Knit a Throw Blanket
Determining the amount of yarn you’ll need for a throw blanket depends on several factors, including the size of the blanket, the type of yarn, and the knitting pattern. Here’s a detailed look:
Factors Influencing Yarn Quantity
- Blanket Dimensions: Standard throw blankets typically measure about 50 inches by 60 inches.
- Yarn Weight: The weight of the yarn — from lightweight (like fingering) to super bulky — will significantly affect the amount needed. Bulky and super bulky yarns are more voluminous and cover more area with fewer yards.
- Knitting Gauge: This refers to how many stitches there are per inch. A looser gauge uses less yarn, while a tighter gauge may require more.
Estimated Yarn Requirements
- Lightweight Yarn: Approximately 1,200-1,500 yards
- Medium Weight Yarn: Around 900-1,200 yards
- Bulky Yarn: 600-900 yards
- Super Bulky Yarn: 400-700 yards
These estimates can vary based on the specific stitches used and whether the design includes any intricate patterns or color work which could increase the amount of yarn needed.
Interested in how Puffy stacks up against other brands? Check out our mattress comparisons: Puffy vs Purple, Puffy vs Nectar, Puffy vs Casper, Puffy vs Leesa, Puffy vs Saatva, Puffy vs DreamCloud, and Puffy vs Tuft and Needle.
How to Knit a Throw Blanket for Beginners
Knitting a throw blanket can be a manageable and rewarding project for beginners. Here are step-by-step instructions to get you started:
Materials Needed
- Yarn: Approximately 600-900 yards of bulky yarn for ease and quick progress.
- Needles: Use size 10-11 US knitting needles for bulky yarn, which are easier to handle and good for practicing basic stitches.
Basic Knitting Steps
- Casting On: Start by casting on 100-120 stitches for a good width. Use a simple cast-on method like the thumb method, which is straightforward and efficient.
-
Knitting the Body:
- Knit Stitch: The most basic and commonly used stitch. Simply insert your needle from left to right through the front of the stitch, wrap the yarn around the needle, and pull through.
- Purl Stitch: The opposite of the knit stitch. Insert your needle from right to left through the back of the stitch, wrap the yarn around, and pull through.
- For simplicity, you can use the garter stitch (knitting every row) which creates a stretchy and squishy fabric.
- Binding Off: Once your blanket reaches the desired length, bind off your stitches to secure them. Cut the yarn, leaving a six-inch tail, and pull this tail through the last loop and tighten.
Using bulky yarn and simple stitches is a great way to quickly see progress on your project, making it as rewarding as lounging on a plush Puffy Lux Mattress.
Check out Puffy mattress reviews from real customers and see how we compare with other brands.
How to Make a Cable Knit Throw Blanket
Creating a cable knit throw adds a touch of elegance and sophistication to any space. Here’s how to tackle this seemingly complex pattern:
Cable Knitting Basics
- Setup: Choose a medium to bulky yarn for better visibility and definition in your cables.
- Tools: In addition to regular knitting needles, you’ll need a cable needle to hold stitches temporarily.
Creating the Cable
- Casting On: Start by casting on stitches that fit the multiple required by your cable pattern plus any border stitches.
- Knitting the Border: Begin and end your throw with a few rows of garter or rib stitch to provide a stable edge.
-
Executing the Cable Stitch:
- Slip Stitches: To create a cable twist, slip the required number of stitches to your cable needle and hold it at the front or back of your work depending on whether you want a left or right twist.
- Knit the Main Needles: Knit the next set of stitches from your left needle.
- Knit from the Cable Needle: Then, knit the stitches from the cable needle.
- This process twists the stitches over each other, creating the cable effect.
- Repeating the Pattern: Continue the pattern as specified for your particular design, repeating the cable twist at intervals that match the project instructions.
Finishing Your Cable Knit Blanket
- Last Rows: Knit a few final rows in your border stitch to cap off the blanket.
- Bind Off: Securely bind off your stitches to prevent unraveling.
- Weave in Ends: Use a yarn needle to weave in loose ends for a clean finish.
Imagine wrapping yourself in your newly knitted throw as you settle into a cozy Puffy Lux Mattress the perfect end to a crafting day.
When I first attempted a cable knit throw, the process seemed daunting. However, after a few practice runs, I found a rhythm. Completing it felt incredibly rewarding, especially when I saw it draped over my couch, adding not just warmth but a personal touch to my living room decor.
Use our store locator to find the closest furniture or mattress store near you and feel the cloudlike comfort of our Puffy Mattress in person.
Conclusion
Knitting a throw blanket is a fulfilling project that enhances your home’s comfort and aesthetic. With the right tools and some patience, anyone can create a beautiful, functional piece of home decor.

- Oeko-Tex® Standard 100 certified.
- Hypoallergenic.
- Lifetime warranty.
- 101-night sleep trial.
- Free shipping and returns.


