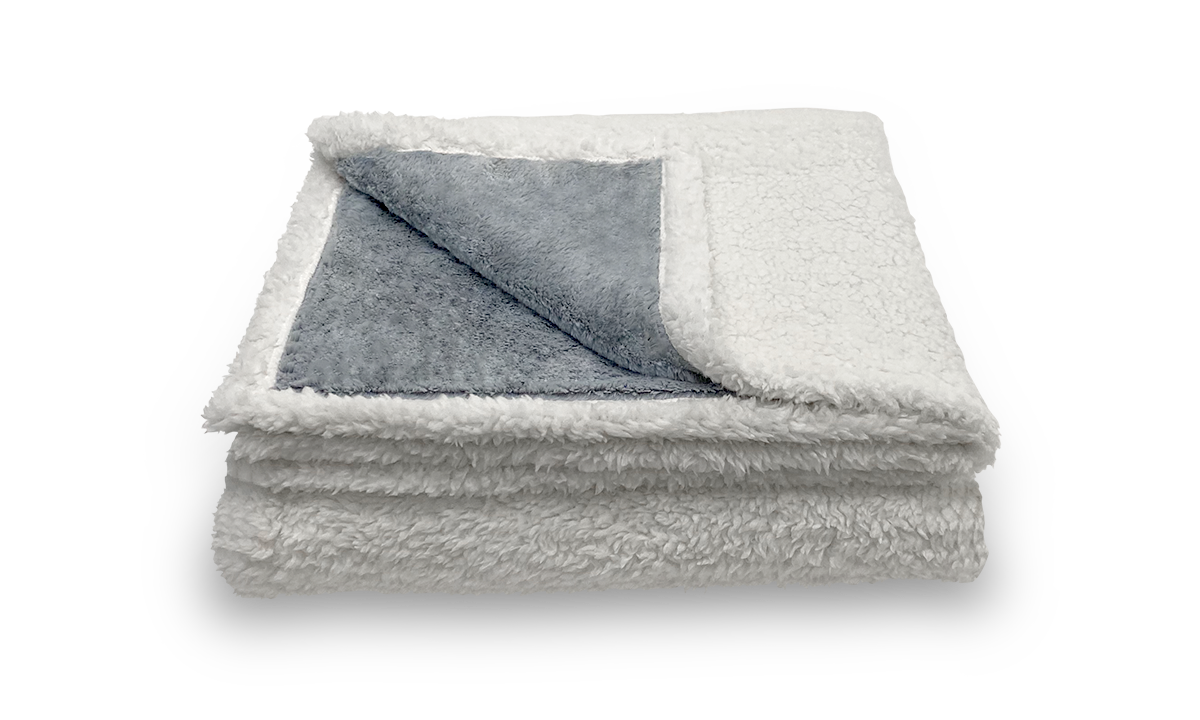
Crocheting a circle blanket is a fun and rewarding project that can add a unique and stylish touch to your home décor. Unlike traditional rectangular or square blankets, circle blankets have a whimsical look that works great as a throw for your couch or a cozy wrap on a chilly evening. This guide will walk you through the process of creating a beautiful circular blanket from start to finish.
What You Need to Get Started
Creating a crochet circle blanket is an enjoyable project that requires some basic materials and tools. Here’s what you’ll need to begin crafting your circular masterpiece:
Yarn
- Type: The choice of yarn is crucial as it determines the texture, appearance, and durability of the finished blanket. Wool, acrylic, and cotton blends are popular for their ease of care and versatility. Wool is warm and elastic, acrylic is lightweight and easy to maintain, and cotton offers a cool, soft finish ideal for warmer climates.
- Color: Depending on your design, you may choose a single color for a classic look or multiple colors to create vibrant patterns. Variegated yarns can also add a beautiful, multi-colored effect without the need for changing yarns.
Crochet Hook
- Size: The hook size should complement the weight of your yarn. A larger hook will produce a looser fabric, which is often desired for a softer, drapier blanket. Typically, a hook size of 5mm (H-8) to 6mm (J-10) works well with medium-weight yarns.
- Material: Hooks are available in aluminum, plastic, and bamboo. Choose one that feels comfortable in your hand, as this project involves a significant amount of crochet work.
Additional Tools and Supplies
- Stitch Markers: Useful for marking the start of a round or important points in the pattern.
- Tape Measure: Essential for measuring the diameter of your blanket as it grows.
- Scissors: Needed for cutting yarn when changing colors or finishing the project.
- Yarn Needle: For weaving in ends to give your blanket a neat finish.
Interested in how Puffy stacks up against other brands? Check out our mattress comparisons: Puffy vs Purple, Puffy vs Nectar, Puffy vs Casper, Puffy vs Leesa, Puffy vs Saatva, Puffy vs DreamCloud, and Puffy vs Tuft and Needle.
How to Crochet a Circular Blanket
Crocheting a circular blanket involves a series of expanding rounds. Here’s how to create a perfectly flat and beautiful circular blanket:
Starting the Circle
- Magic Ring: Begin with a magic ring, which allows you to pull the center tight, eliminating any hole at the start of your circle.
- Initial Stitches: Work a set number of stitches into the magic ring—commonly 6 to 12 double crochets, depending on how flat you want the initial circle to be.
Increasing Rounds
- Pattern of Increases: To keep the circle flat, you need to increase evenly. A typical pattern for increasing in each round is to add the same number of stitches as you started with (e.g., if you start with 6 stitches, increase by 6 stitches in each subsequent round). This might look like: 1 double crochet in each stitch, 2 double crochets in the next, repeated around.
- Use of Stitch Markers: Place a marker at the beginning of each round to keep track of where each round starts, especially as the work gets larger.
Maintaining the Shape
- Regular Checks: Lay your work flat regularly to check for ruffling or cupping. If the blanket starts to cup, reduce the number of increases; if it starts to ruffle, increase the number of increases.
- Adjustments: Be prepared to adjust your increasing pattern as needed—this is often necessary as the diameter of the blanket grows.
Finishing the Blanket
- Final Rounds: You may choose to finish with a few rounds without any increases to create a slightly rippled edge, or continue increasing for a flat edge.
- Binding Off: Cut the yarn, leaving a long tail. Pull this tail through the loop on your hook and tighten to secure. Weave the end into the back of the blanket using a yarn needle to ensure it won’t come undone.
Decorative Edging
- Simple Edging: A single round of slip stitch or single crochet can tidy up the edge and give your blanket a finished look.
- Elaborate Borders: Consider scallops, picot, or shell stitches for a more decorative edge.
Check out Puffy mattress reviews from real customers and see how we compare with other brands.
Variations and Creative Ideas
Textural Changes
- Stitch Variations: Introduce different stitches like the shell stitch or bobble stitch to create texture within your blanket.
- Color Changes: Use color changes to create radial or concentric designs, which can add depth and interest to your blanket.
Decorative Edges
- Scalloped Border: Adding a scalloped border can enhance the edge of the blanket, making it more decorative.
- Picot Edging: This delicate edging can give your circle blanket a sophisticated finish.
Crocheting a circle blanket was a project I undertook during a particularly chilly winter. Each round offered a meditative relief from the hustle of daily life, and the final product became a favorite in our family room, frequently accompanying our family during movie nights on our Puffy Lux Mattress.
Use our store locator to find the closest furniture or mattress store near you and feel the cloudlike comfort of our Puffy Mattress in person.
Conclusion
A circle blanket is not just a functional item; it is a piece of art that reflects the crafter’s skill and creativity. Whether you are making it for yourself or as a gift, the process of crocheting a circle blanket can be a deeply satisfying experience. With the right tools and a bit of patience, you can create a stunning and cozy addition to your home décor.

- Oeko-Tex® Standard 100 certified.
- Hypoallergenic.
- Lifetime warranty.
- 101-night sleep trial.
- Free shipping and returns.


